
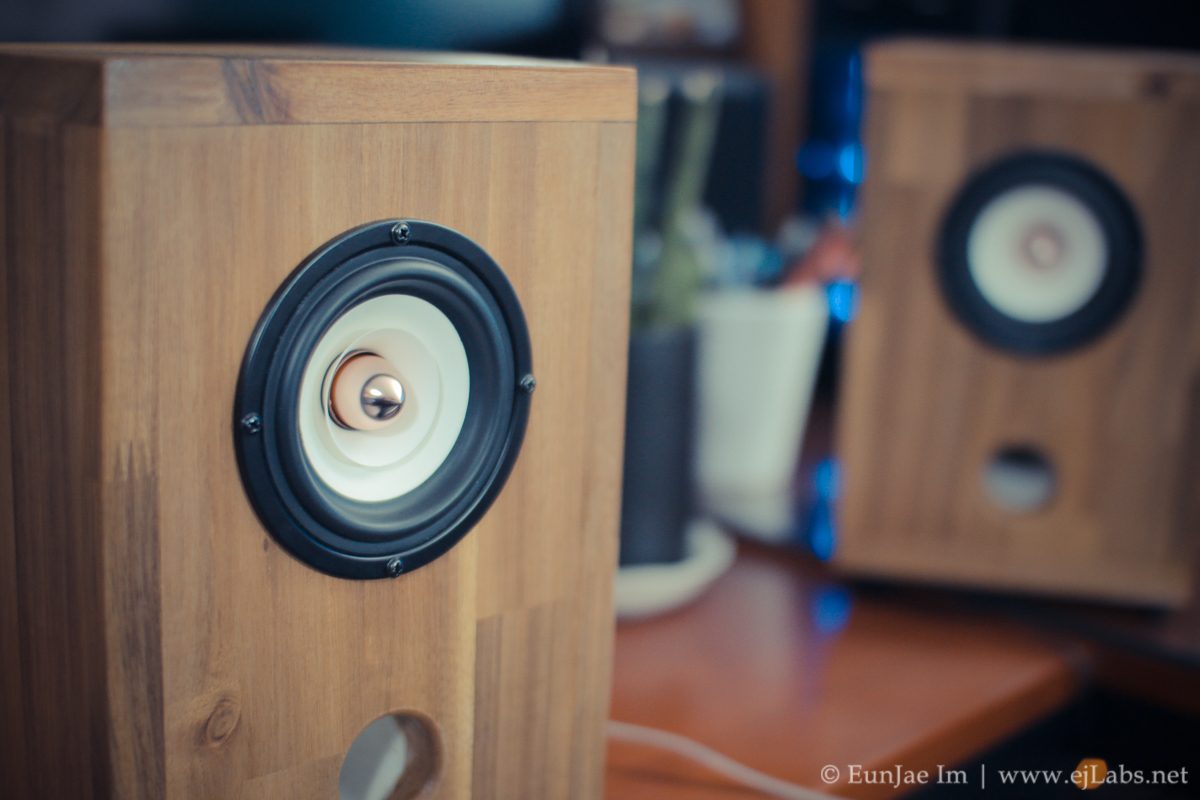
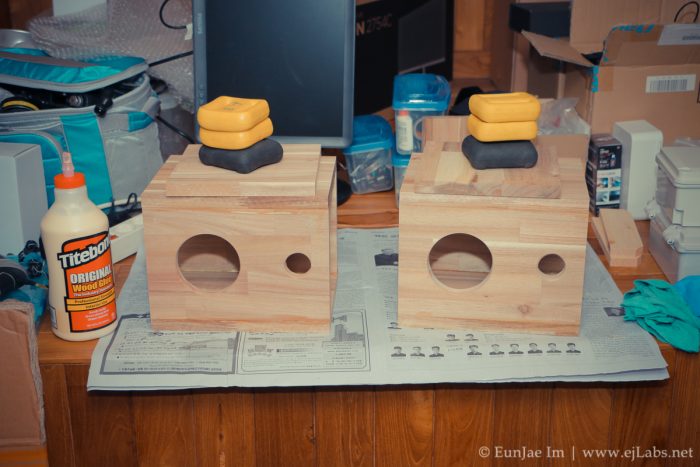
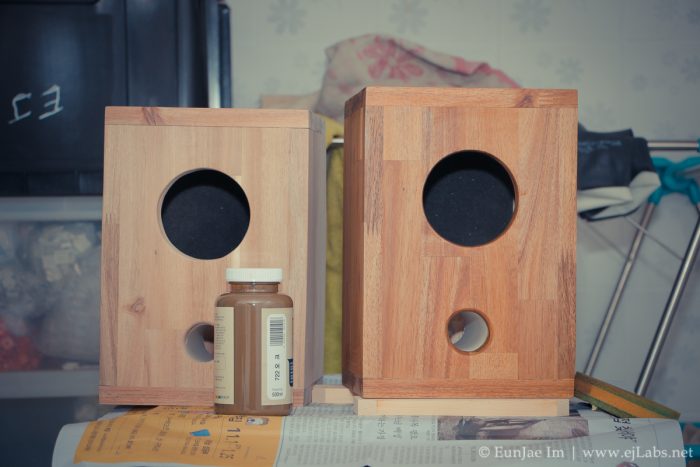
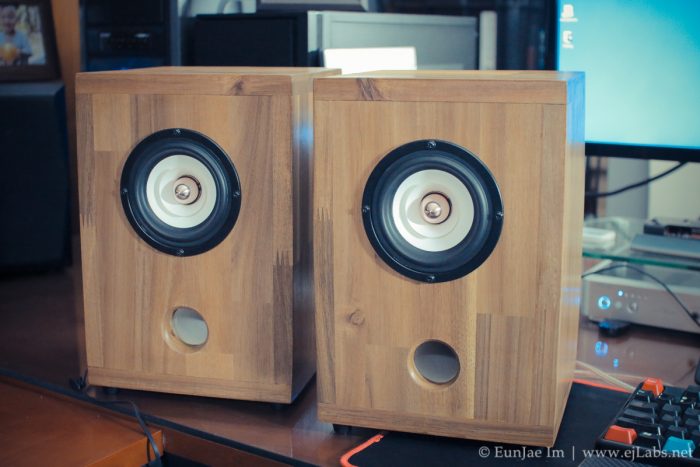
Simple & small 4 inch full range speaker enclosure DIY
Category: Miscellany


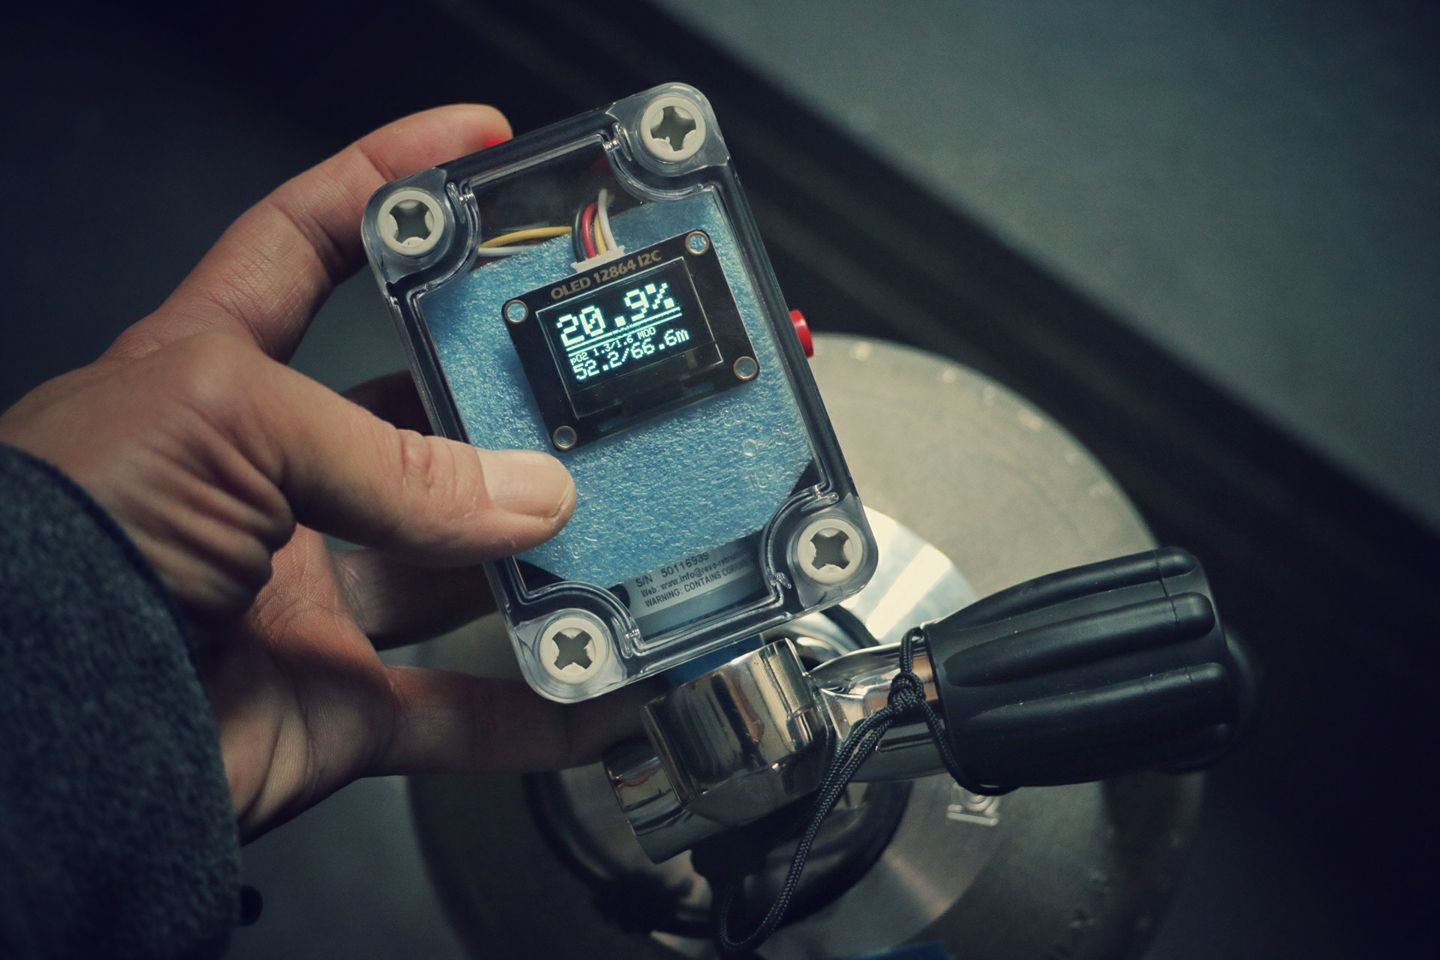
Arduino oled nitrox analyzer
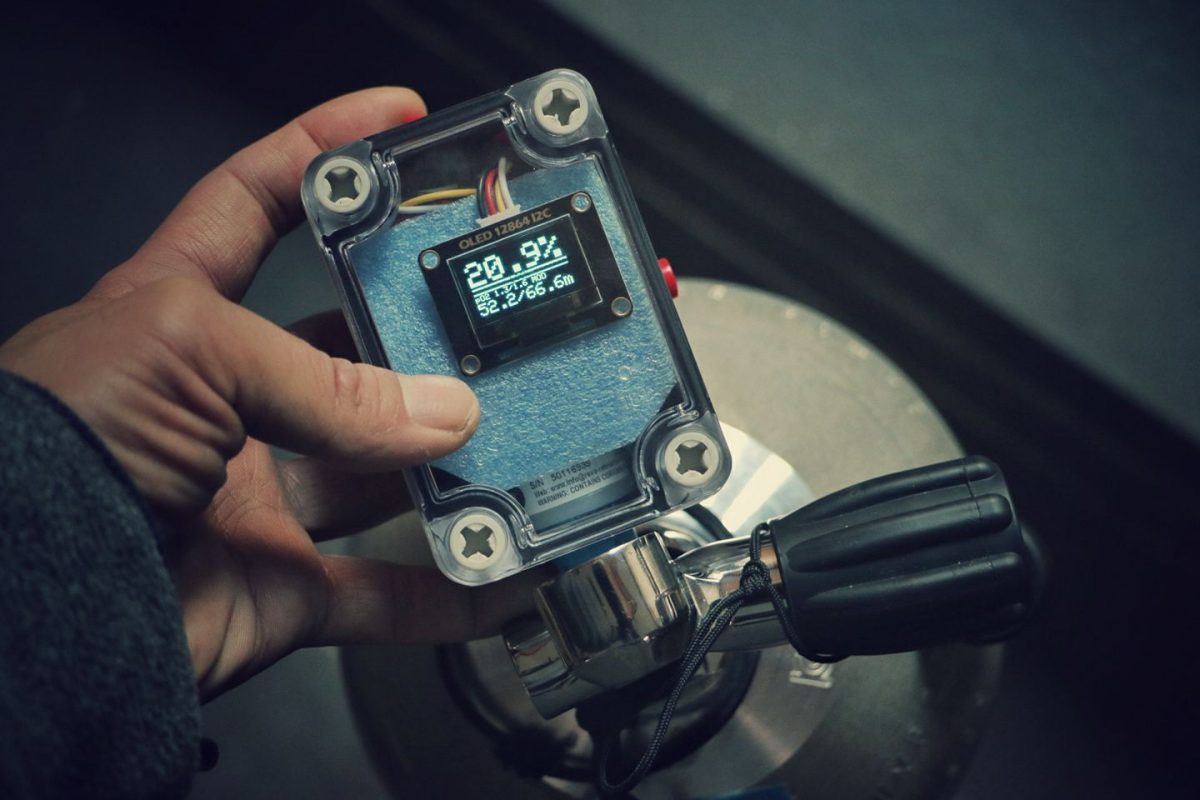
This is update version of my DIY nitrox analyzer based on Arduino compatible board.
It’s using small oled display and powered by 9v battery. Display o2 percentage of gas, sensor mv output, two MOD(maximum operating depth) in meter. 1 push button for lock screen, calibration, po2 change.
Part list
- Arduino nano compatible board (or any other Arduino board will do)
- ADS1115 16 Bit DAC Module (the ADS1115 provides 16-bit precision at 860 samples/second over I2C!)
- 0.96 inch OLED 128×64 I2c display module
- Rocker or toggle switch for power on/off
- 1 Push button
- 1 9v battery connector (better using 3 AA or AAA)
- 1 Piezo Buzzer (I took one from pc. Skip if you don’t need beeping analyzer :)
- 1 Connector for o2 sensor (mine is molex)
- 1 O2 sensor (I use old cell from my CCR but you can get sensor from Teledyne, Maxtec or other manufacturer.
Wiring
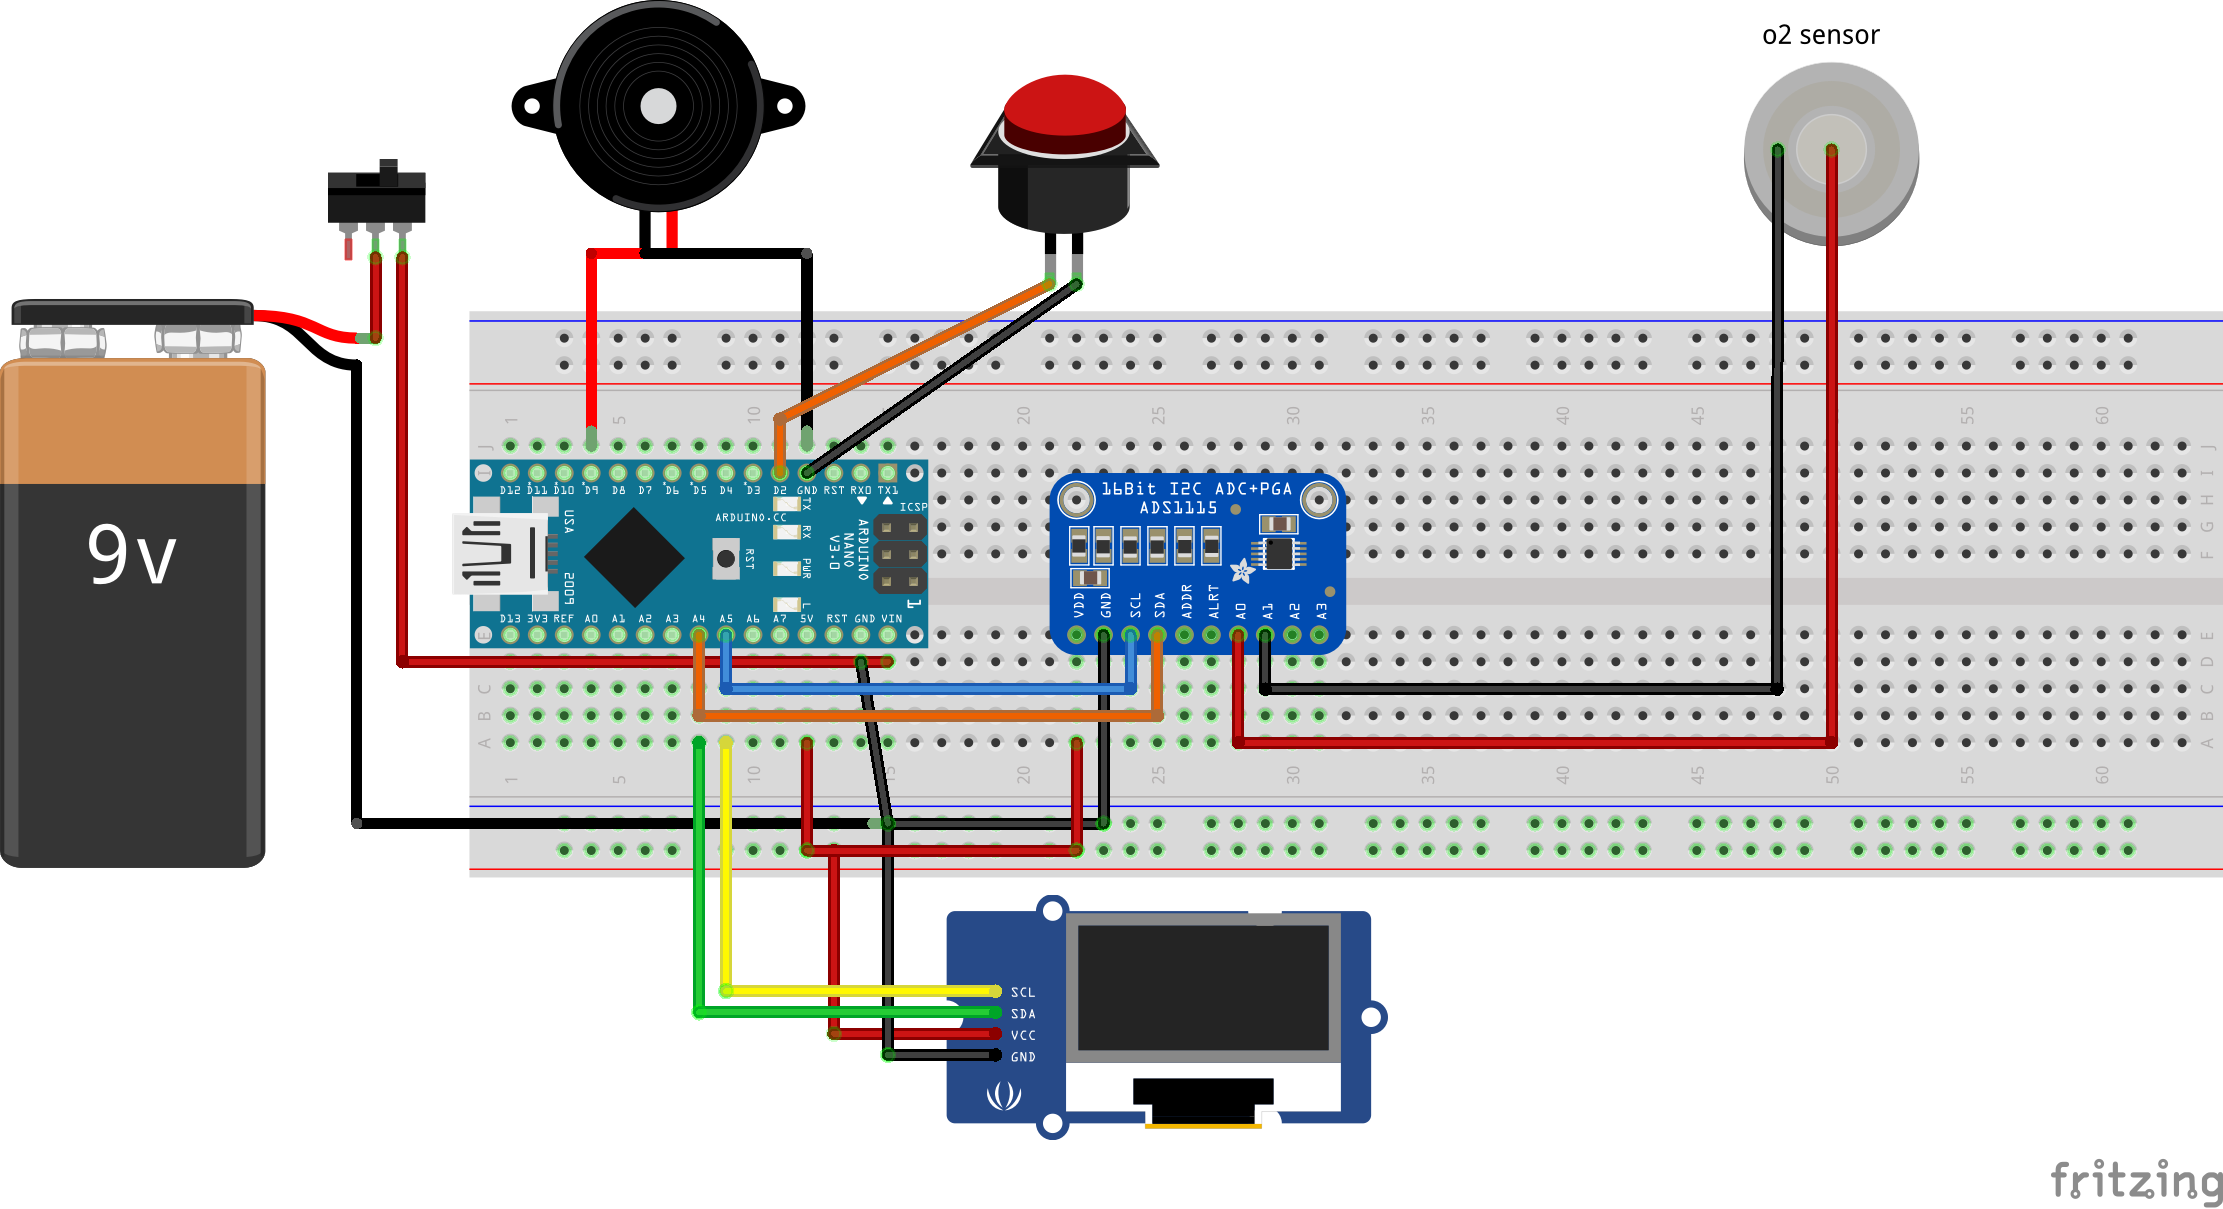
ADS1115
- VDD to 5v
- GND to Ground
- SCL to A5 (nano)
- SDA to A4 (nano)
OLED 128×64 I2c display module
- GND to Ground
- VCC to 5v
- SCL to A5 (nano)
- SDA to A4 (nano)
Push button
- 1 pin to Ground
- 2 pin to D2 (nano)
9v battery
- positive to VIN (nano) through rocker (toggle) switch
- negative to Ground
Buzzer
- positive to D9 (nano)
- negative to Ground
Oxygen sensor
- positive to A0 ADS1115
- negative to A1 ADS1115
The source
Additional library
Usage
- 1 short button push to lock current display (1 push to unlock)
- 2 sec hold to calibration
- 3+ sec hold to MOD PO2 change (1.3 to 1.5 rotation)
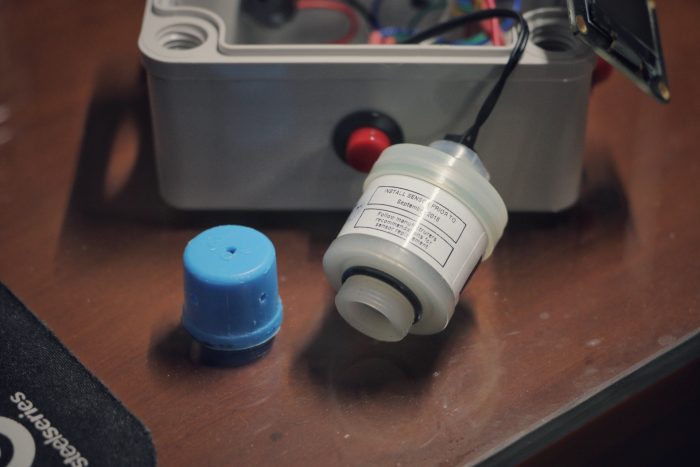
Note
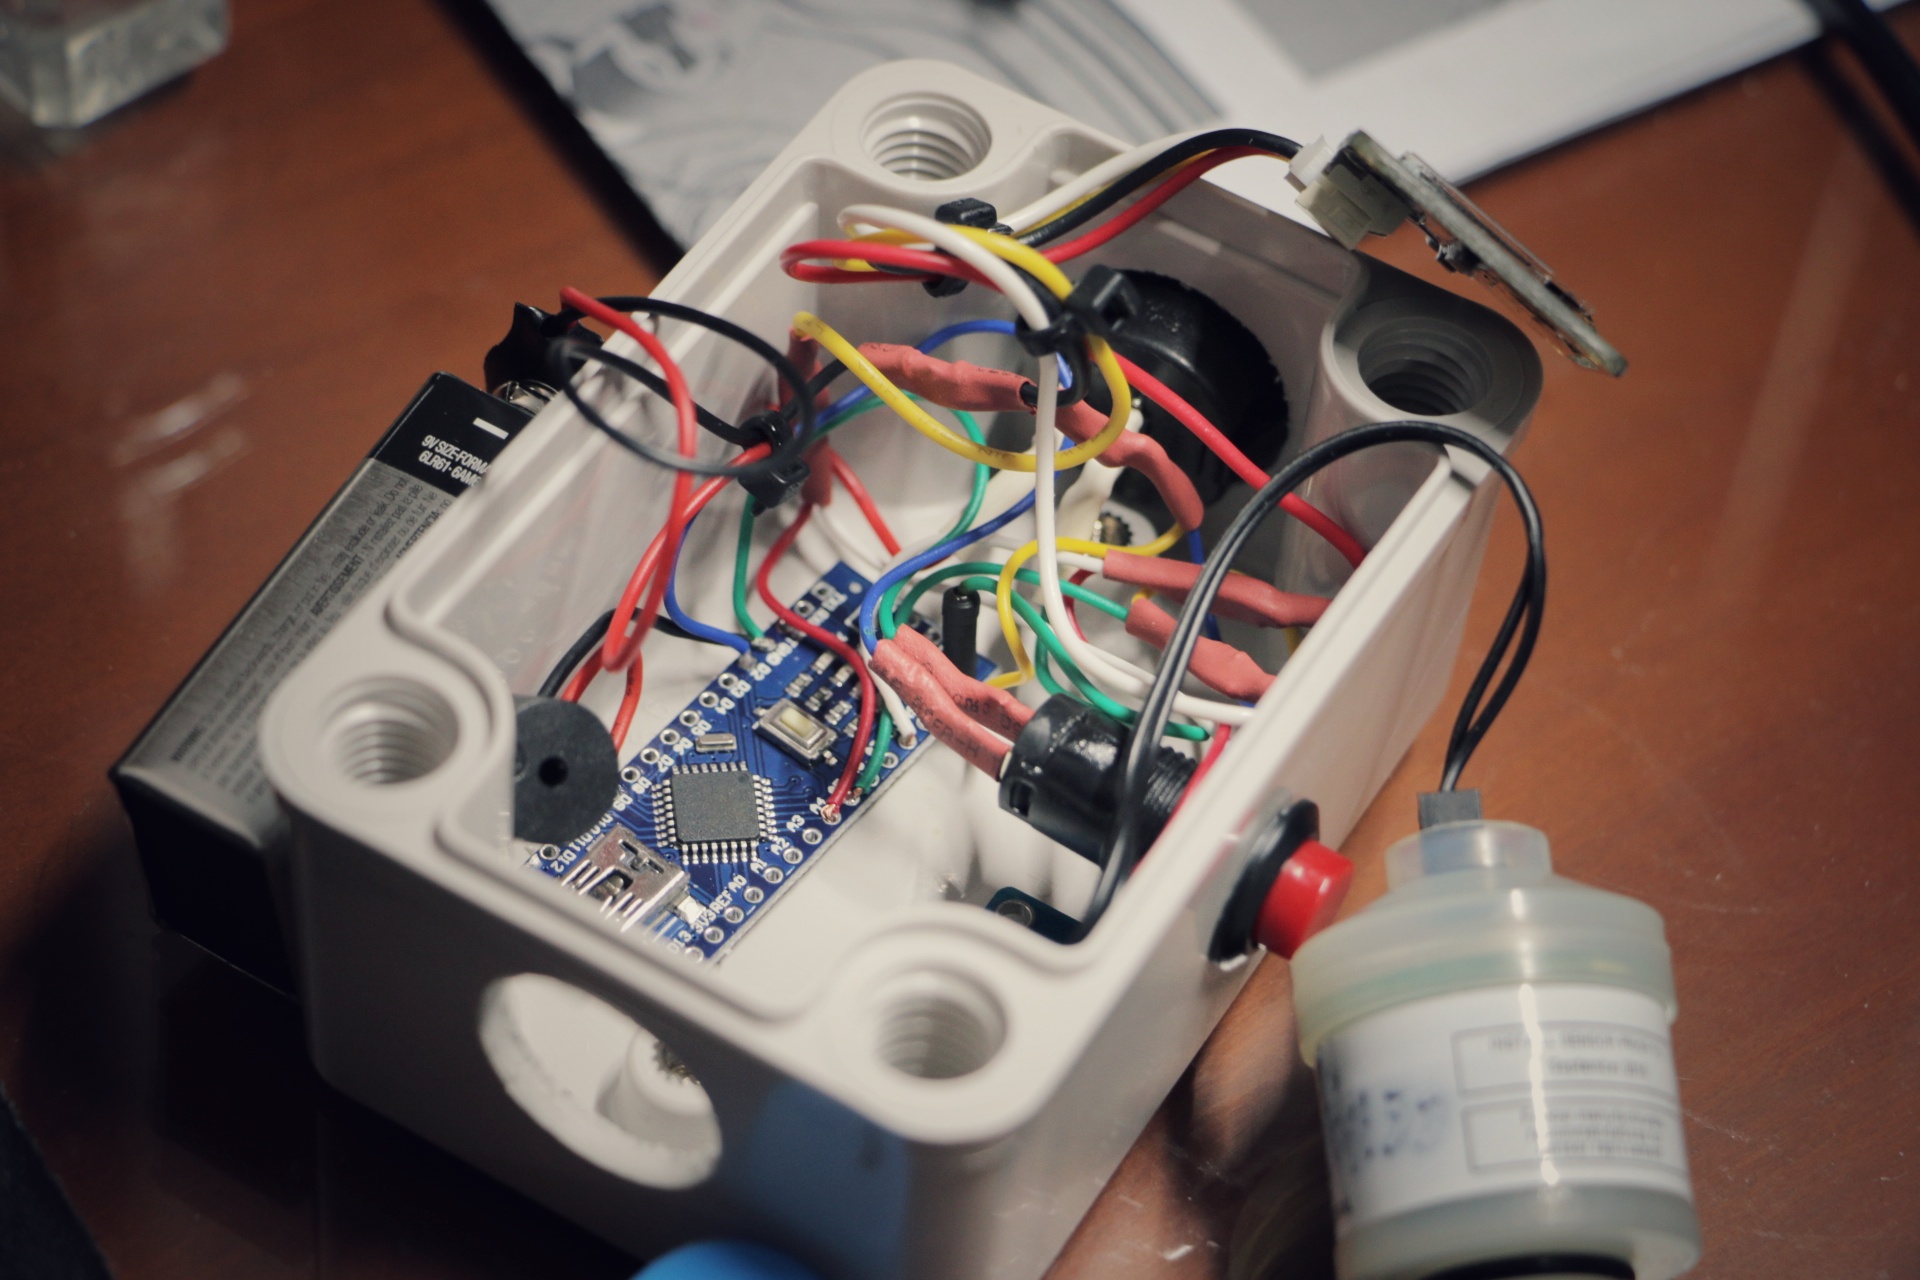
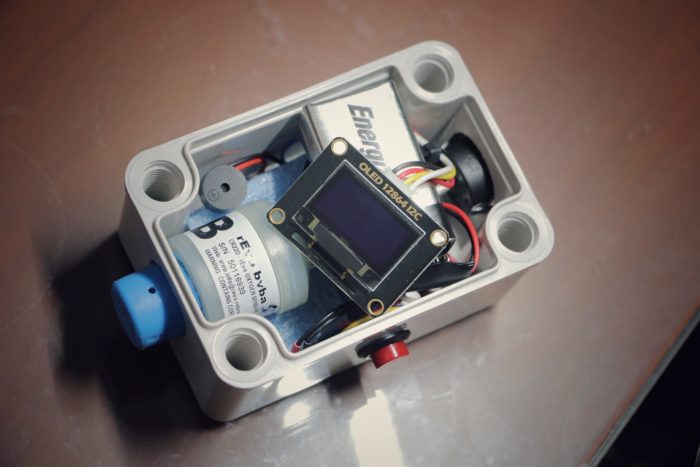
I put everything include sensor in a small plastic box(65×95×55mm) with transparent cover. Here’s some image of ugly looking inside. I’m sure someone can 3d print smaller and prettier shell.
9v battery is very poor choice for Arduino project (I used because that’s what I have many). AA, AAA x 3 or small rechargeable batteries are better.
Warning! Be cautious when you use 9v battery. Arduino onboard DC regulator will be destroyed if you accidentally switch positive & negative.
Todo list
- clean the code
- replace board to custom pcb or pro mini
- replace 9v batt to rechargeable small lipo battery
- smaller case
Please don’t email me about basic arduino programming issue. You can search or post question here. https://forum.arduino.cc
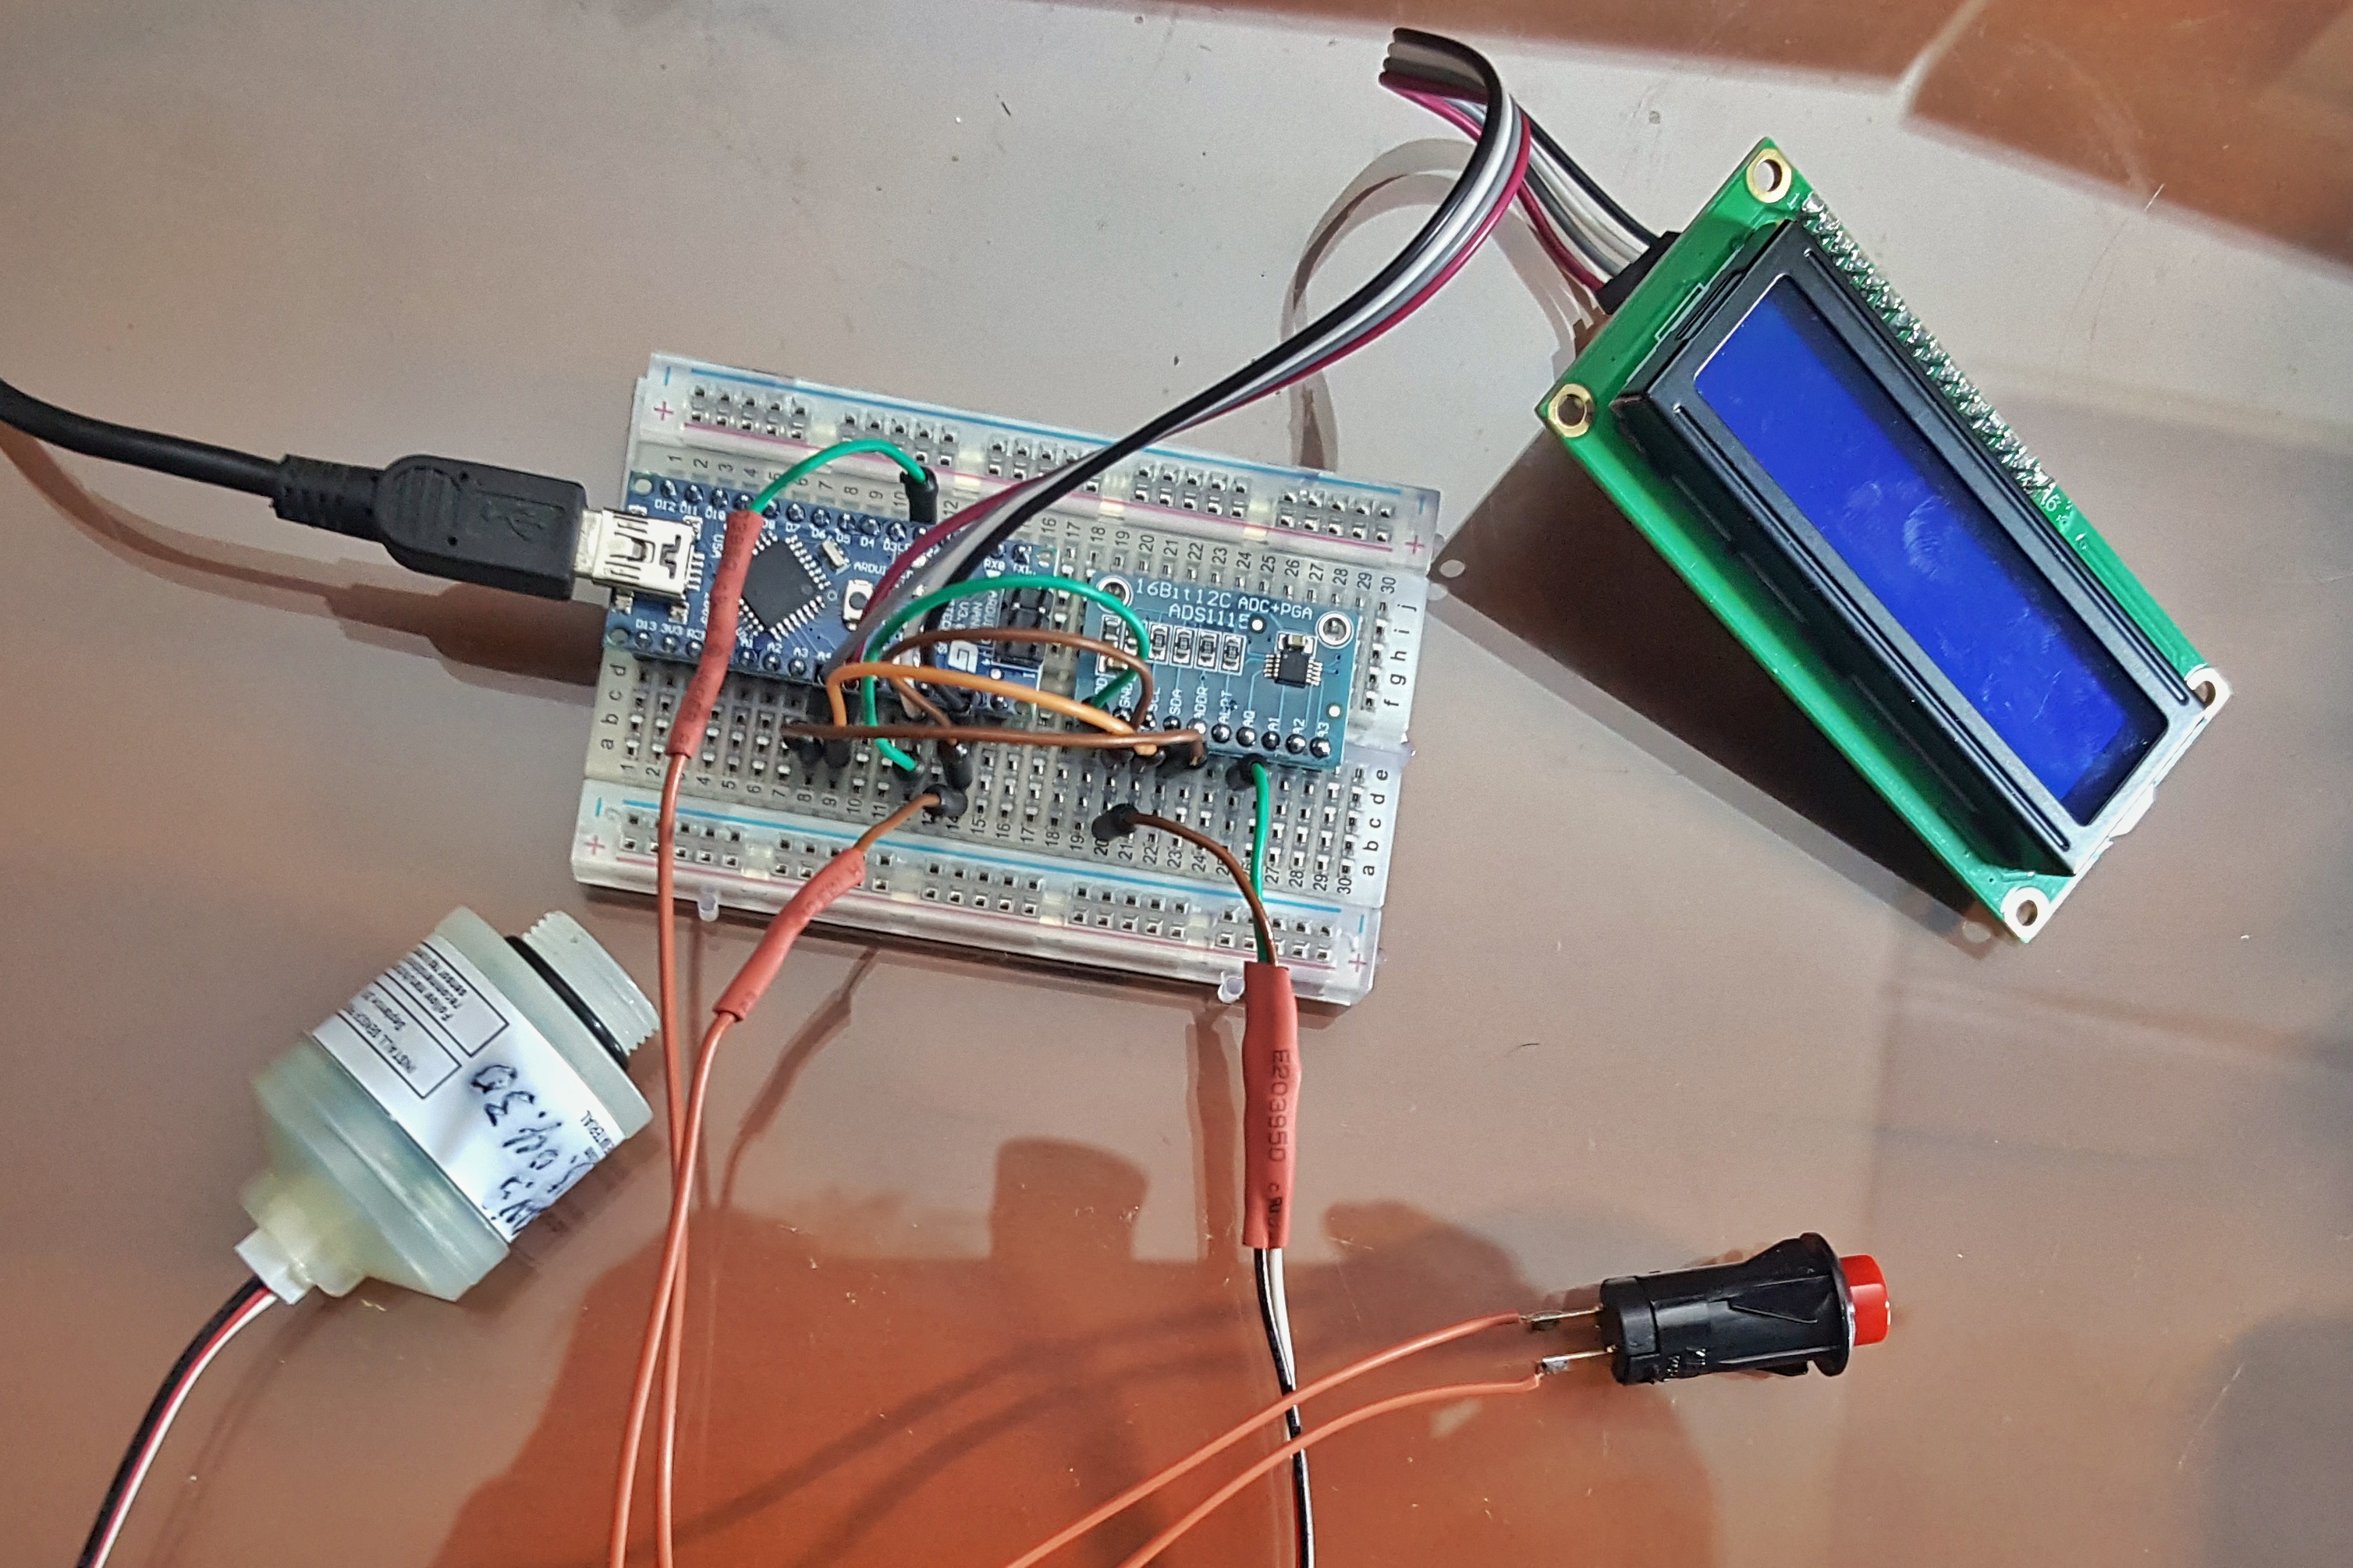
DIY Nitrox Analyzer
Forget about ancient analog potentiometer circuit and build your own digital O2 analyzer based on Arduino compatible board!
Part list
- Arduino nano compatible board (or any other Arduino board will do)
- ADS1115 16 Bit DAC Module (the ADS1115 provides 16-bit precision at 860 samples/second over I2C!)
- LCD 1602 I2C module
- 1 Push button
- O2 sensor (I use old cell from my CCR but you can get sensor from Teledyne, Maxtec or other manufacturer)
- Connector for o2 sensor
Wiring
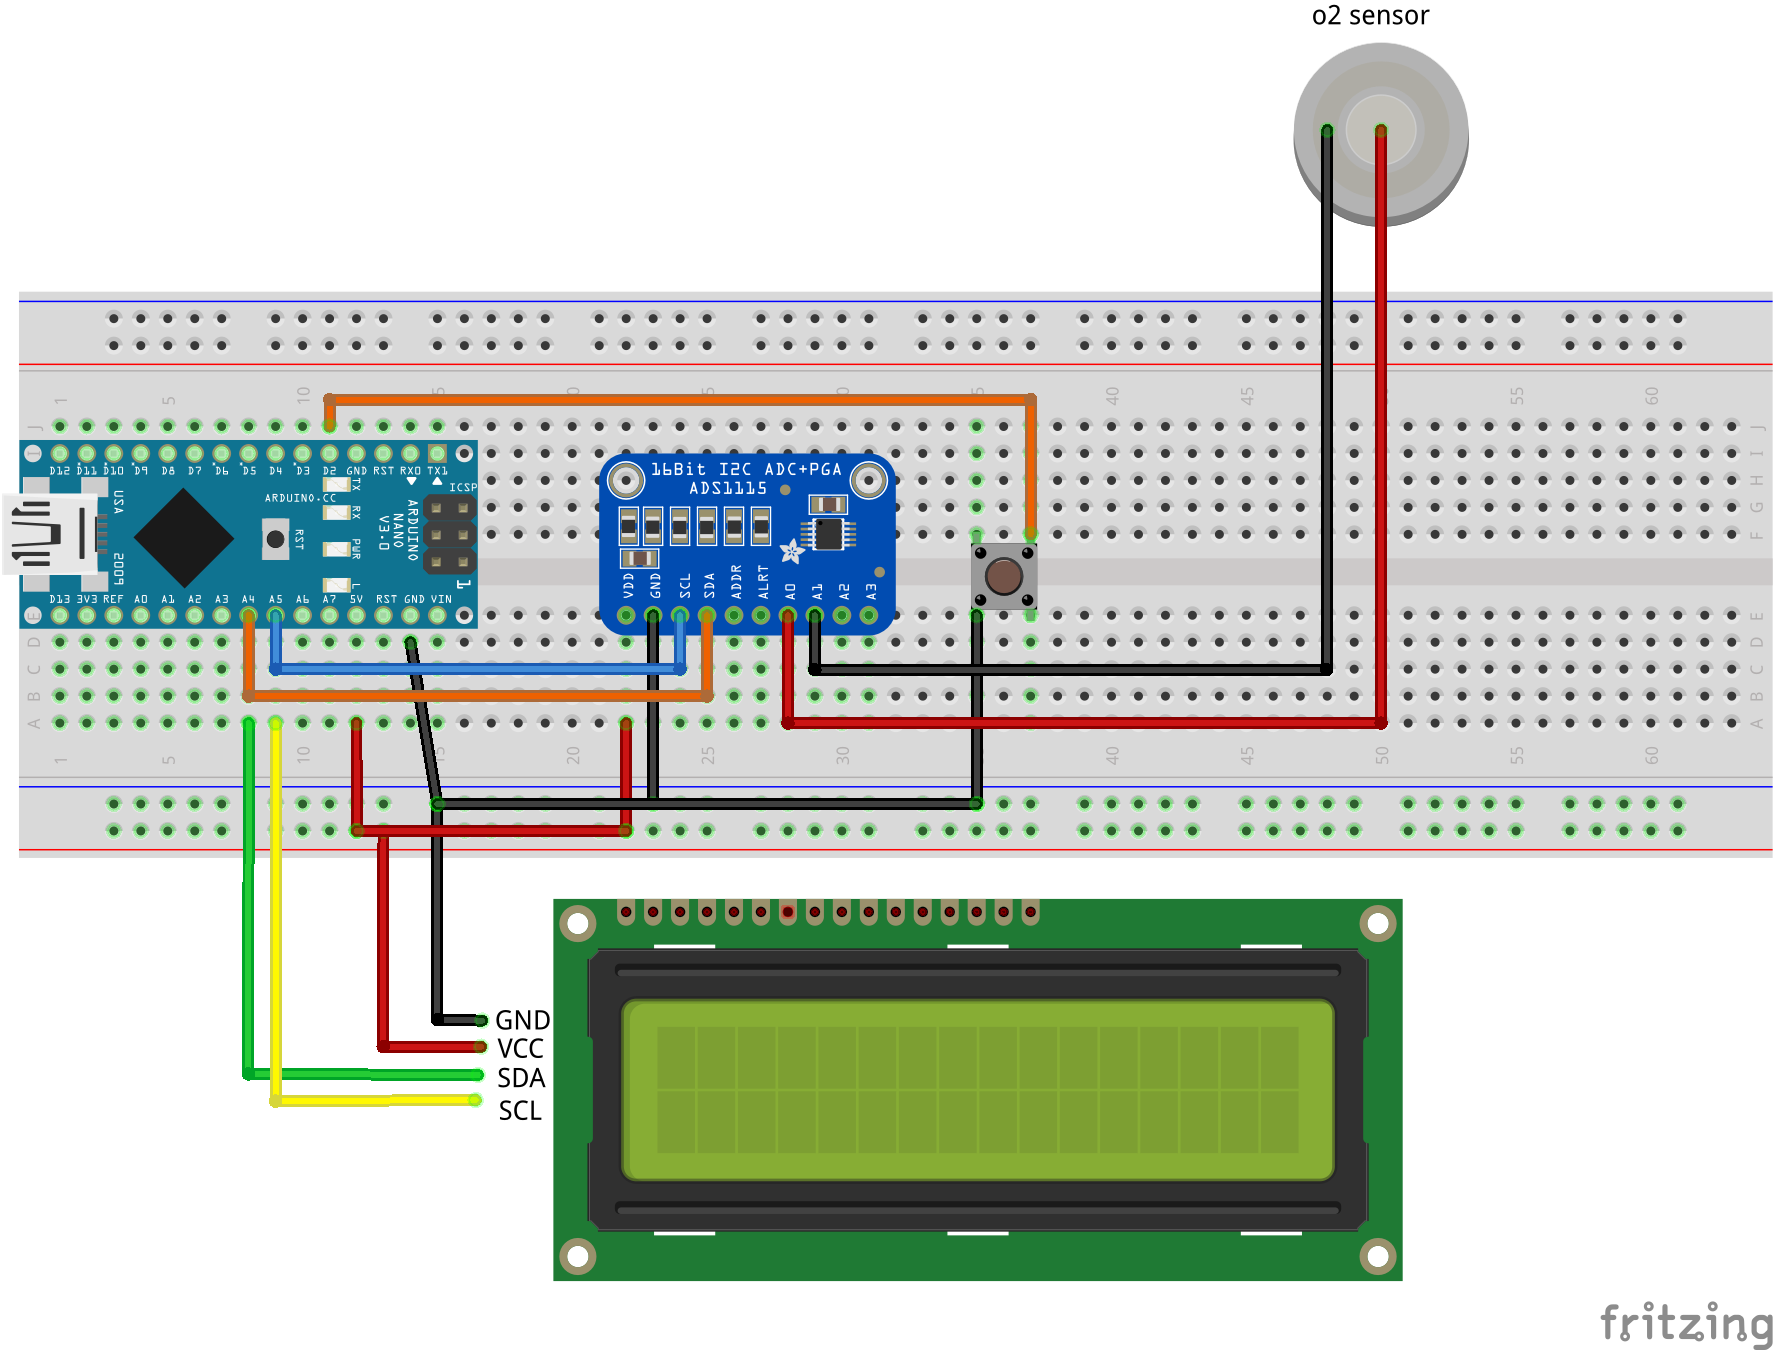
ADS1115
- VDD to 5v
- GND to Ground
- SCL to A5 (nano)
- SDA to A4 (nano)
LCD 1602 + I2C module
- GND to Ground
- VCC to 5v
- SCL to A5 (nano)
- SDA to A4 (nano)
Push button
- 1 pin to Ground
- 2 pin to D2 (nano)
Oxygen sensor
- positive to A0 ADS1115
- negative to A1 ADS1115
The source
Additional library require.
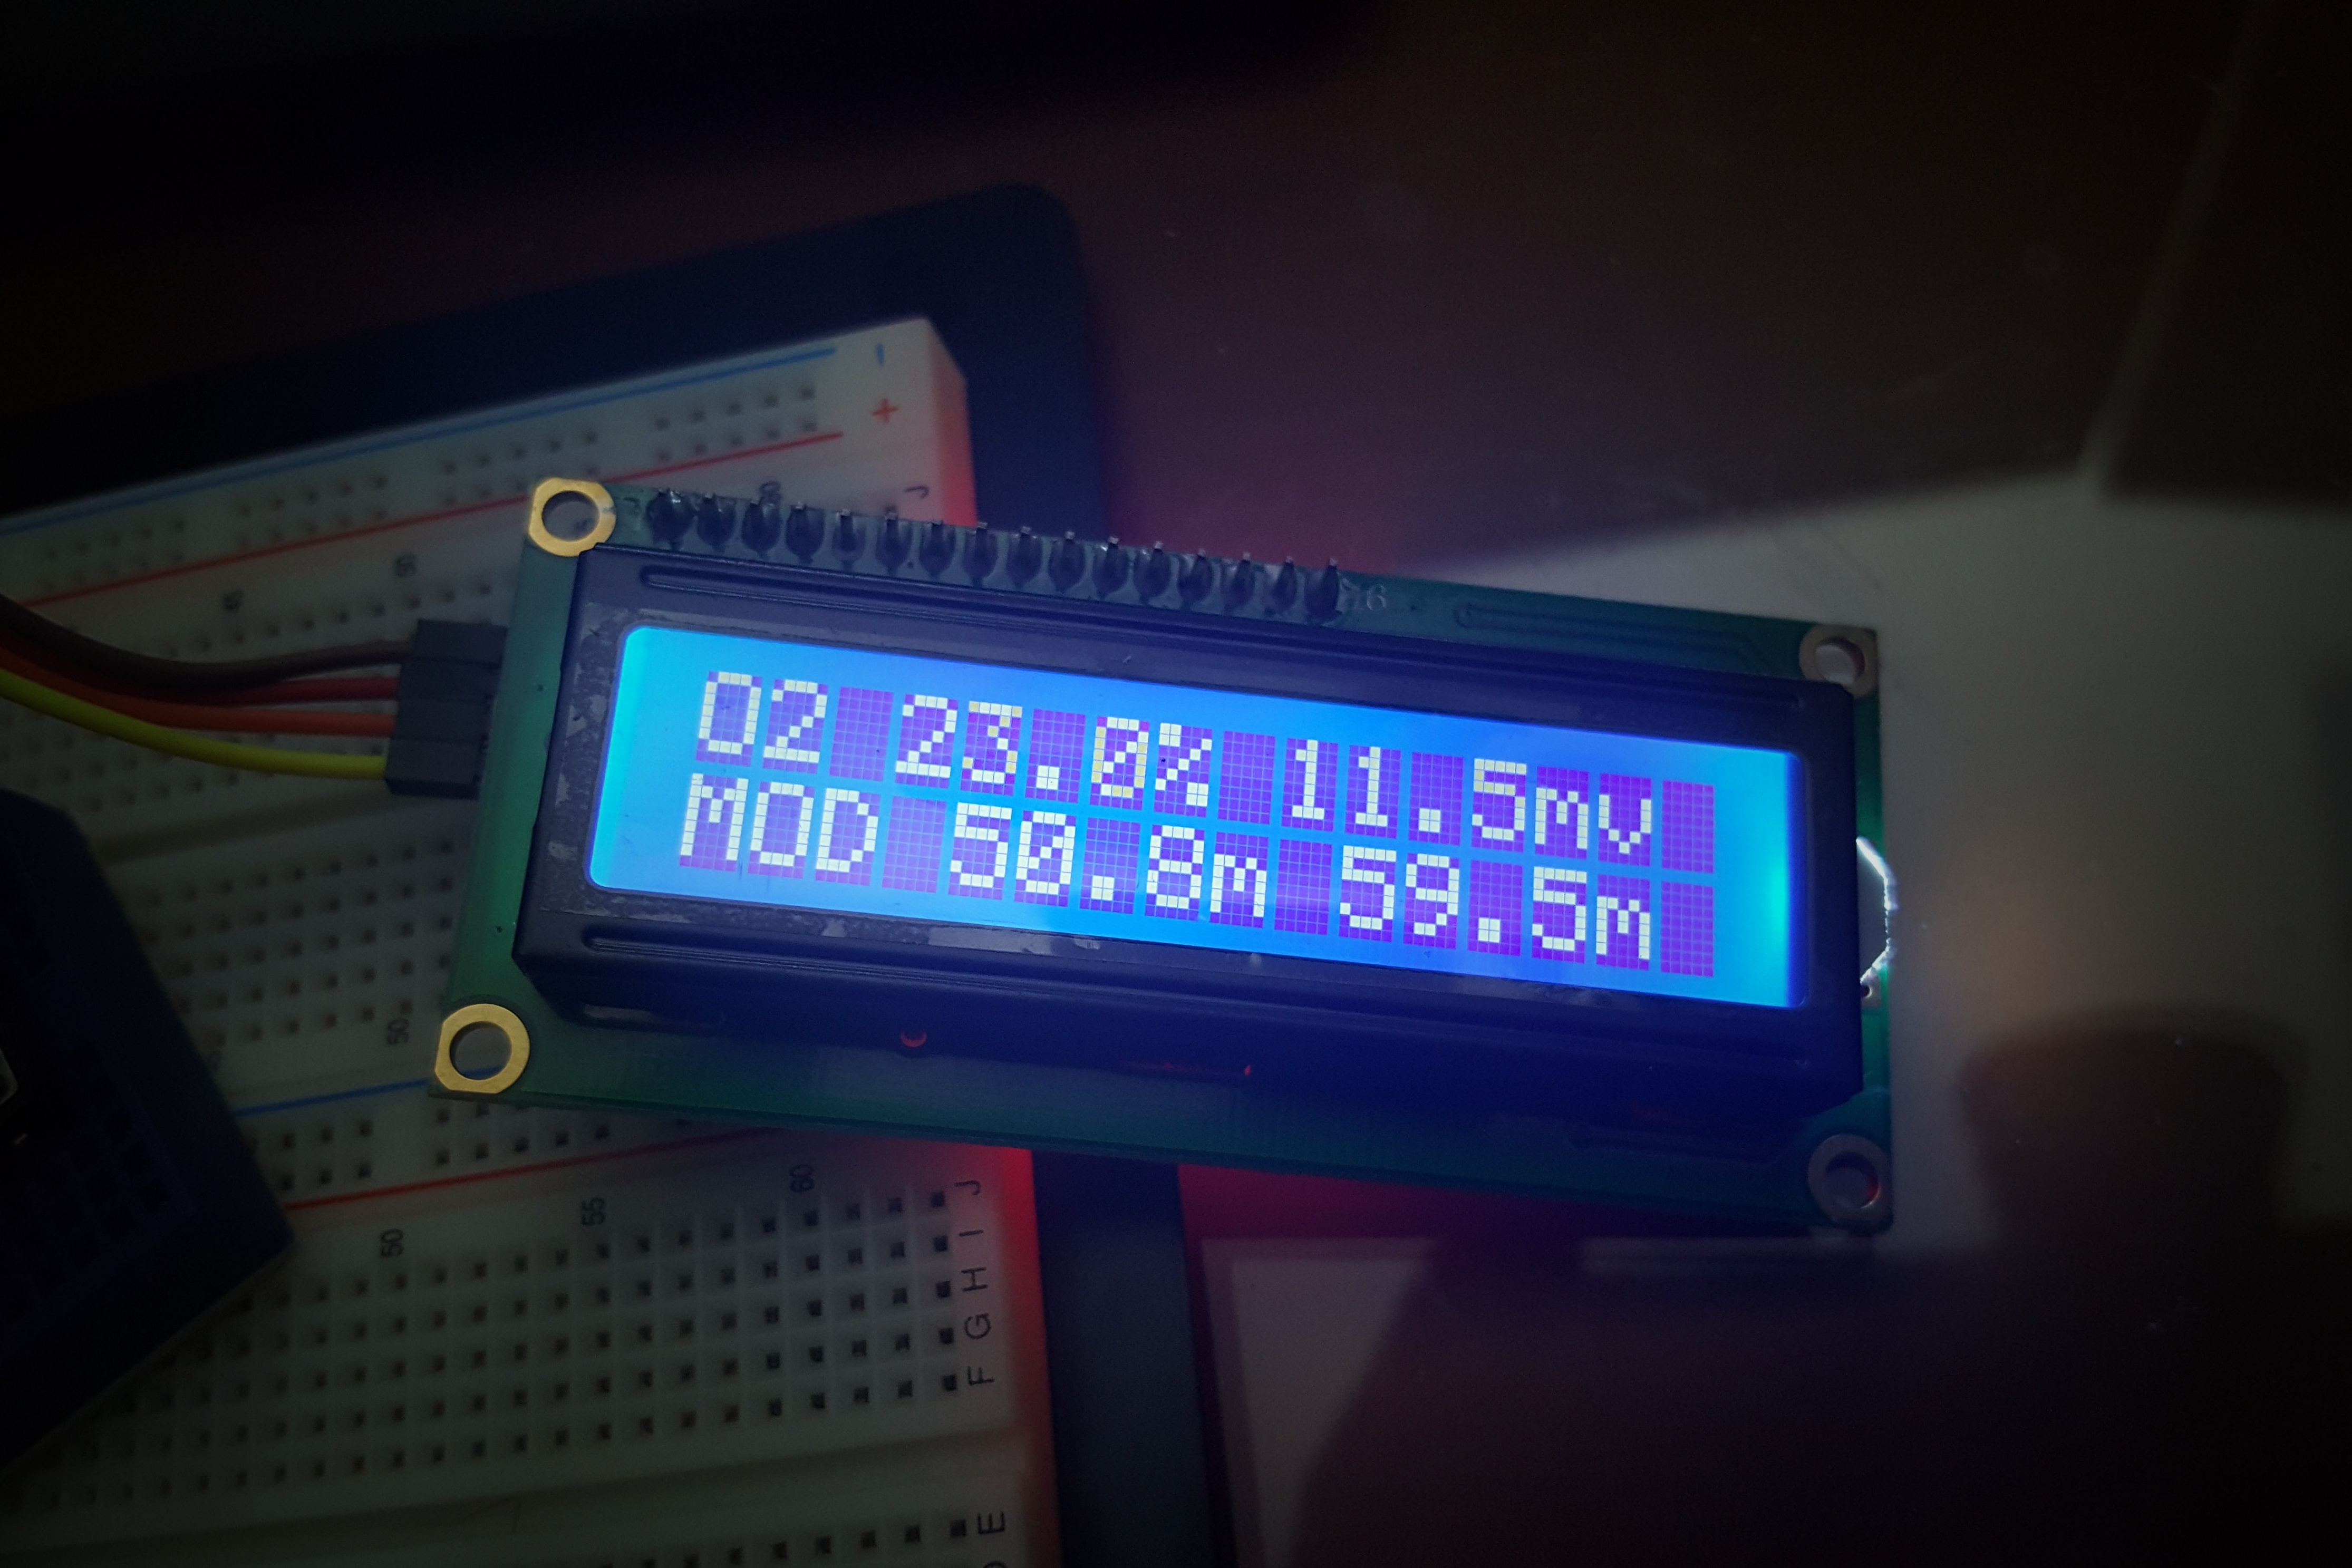
The code is very simple. Calibration and storing millivolt output from o2 sensor (in the air – o2 20.9%) when button is pressed.
Oxygen percentage and millivolt of sensor will display on LCD.
Note
- In many case i2c device address are different from the code. If something not working then check your i2c address (ads1115 and lcd module) using i2c scanner.
Update 28th Feb 2017
- Reading sensor function changed from Single Ended to Differential Conversion. Sensor out should be connected to A0 & A1 (ads1115) accordingly.
Update 22th Feb 2017
- Button need push & hold for 2 sec to calibration.
- Display MOD (Maximum Operating Depth) : po2 1.4 & 1.6
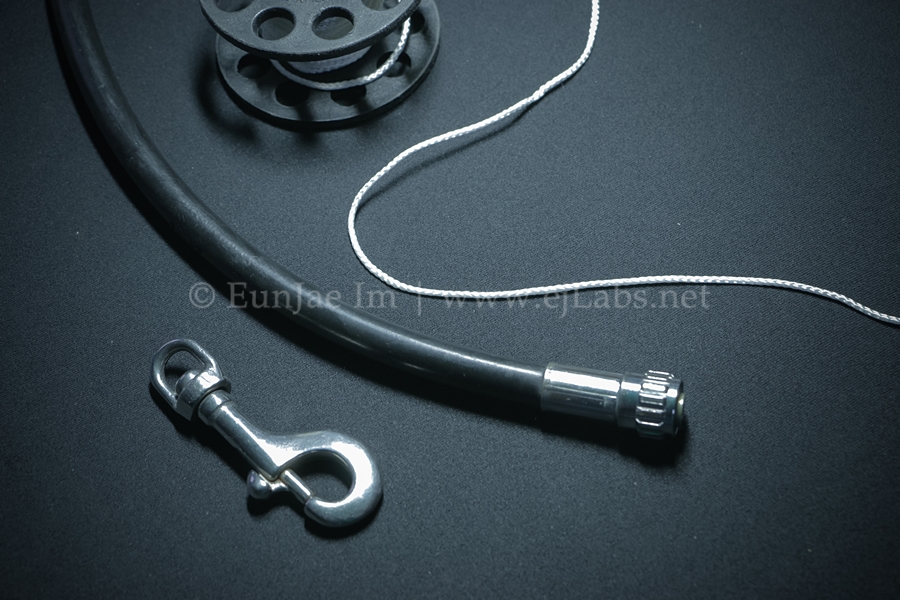
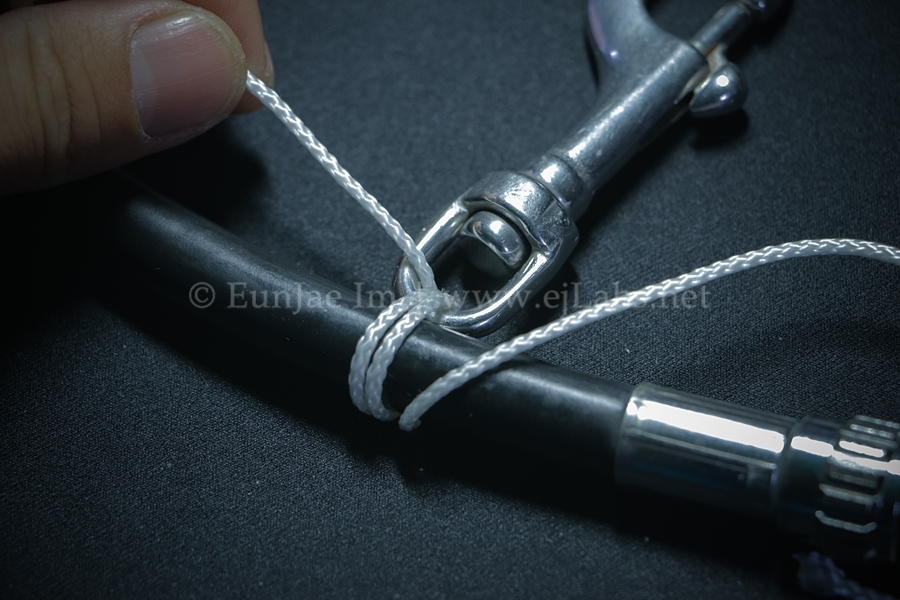
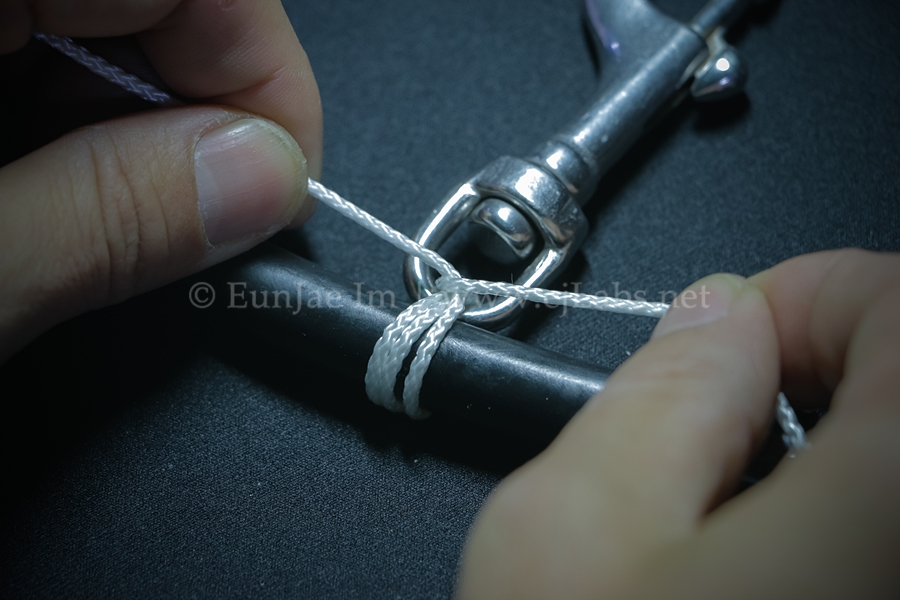
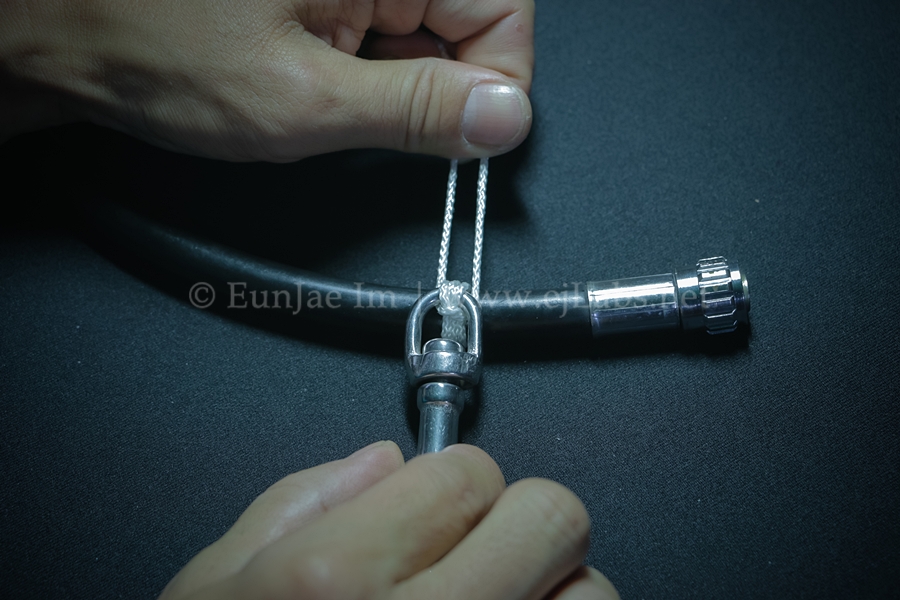
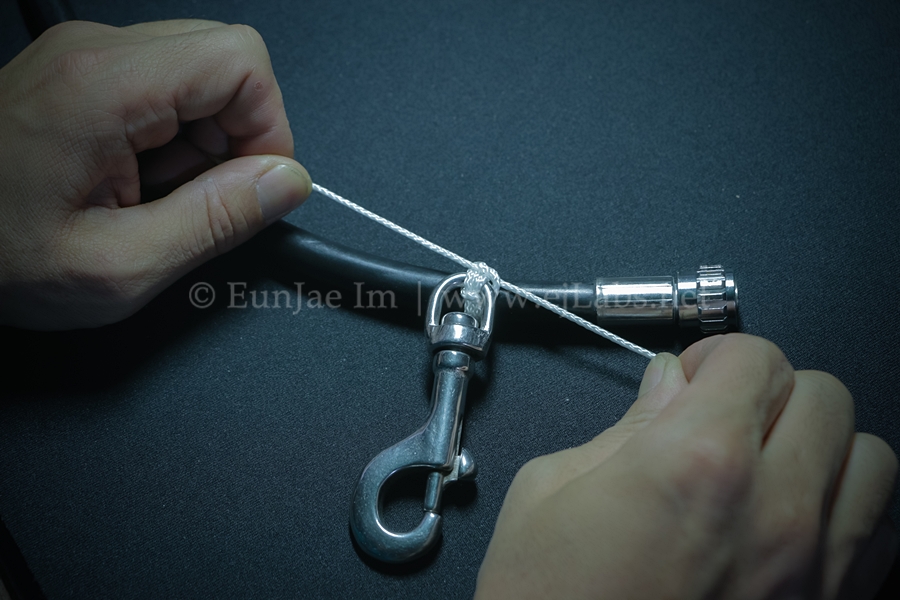
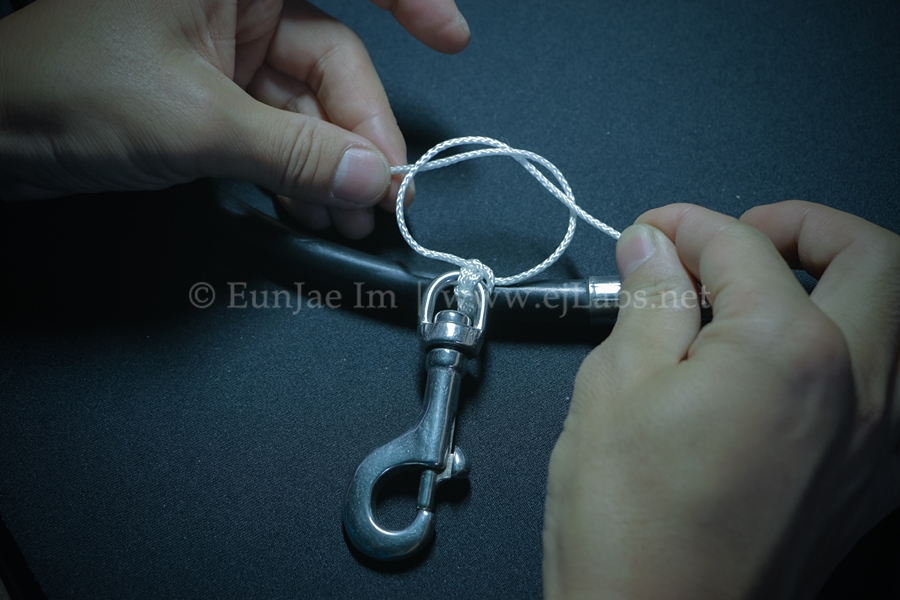
How to tie the bolt snap
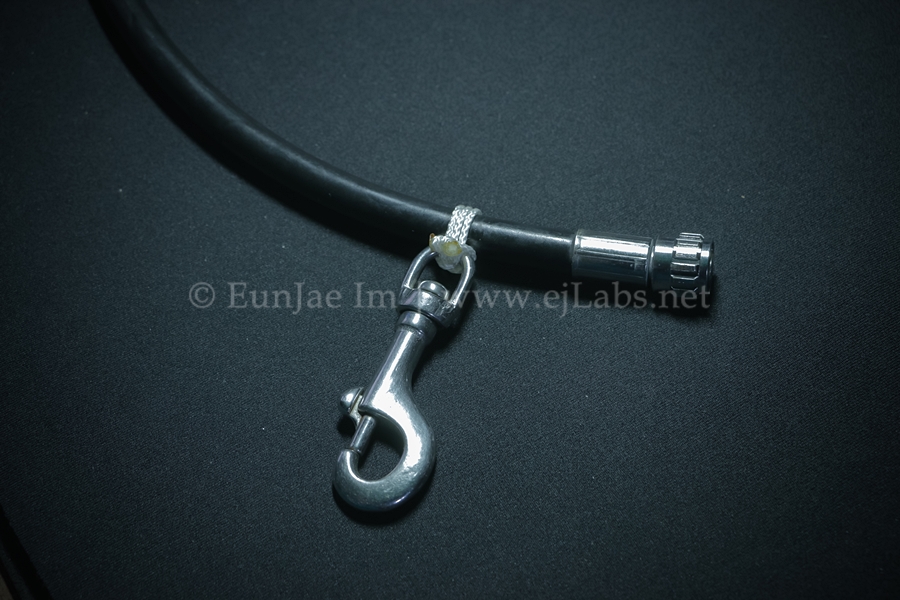
Step by step method to tie a bolt snap to diving equipment in the hogarthian manner.


Panasonic GH4 Underwater Test Footage – Graded & Ungraded
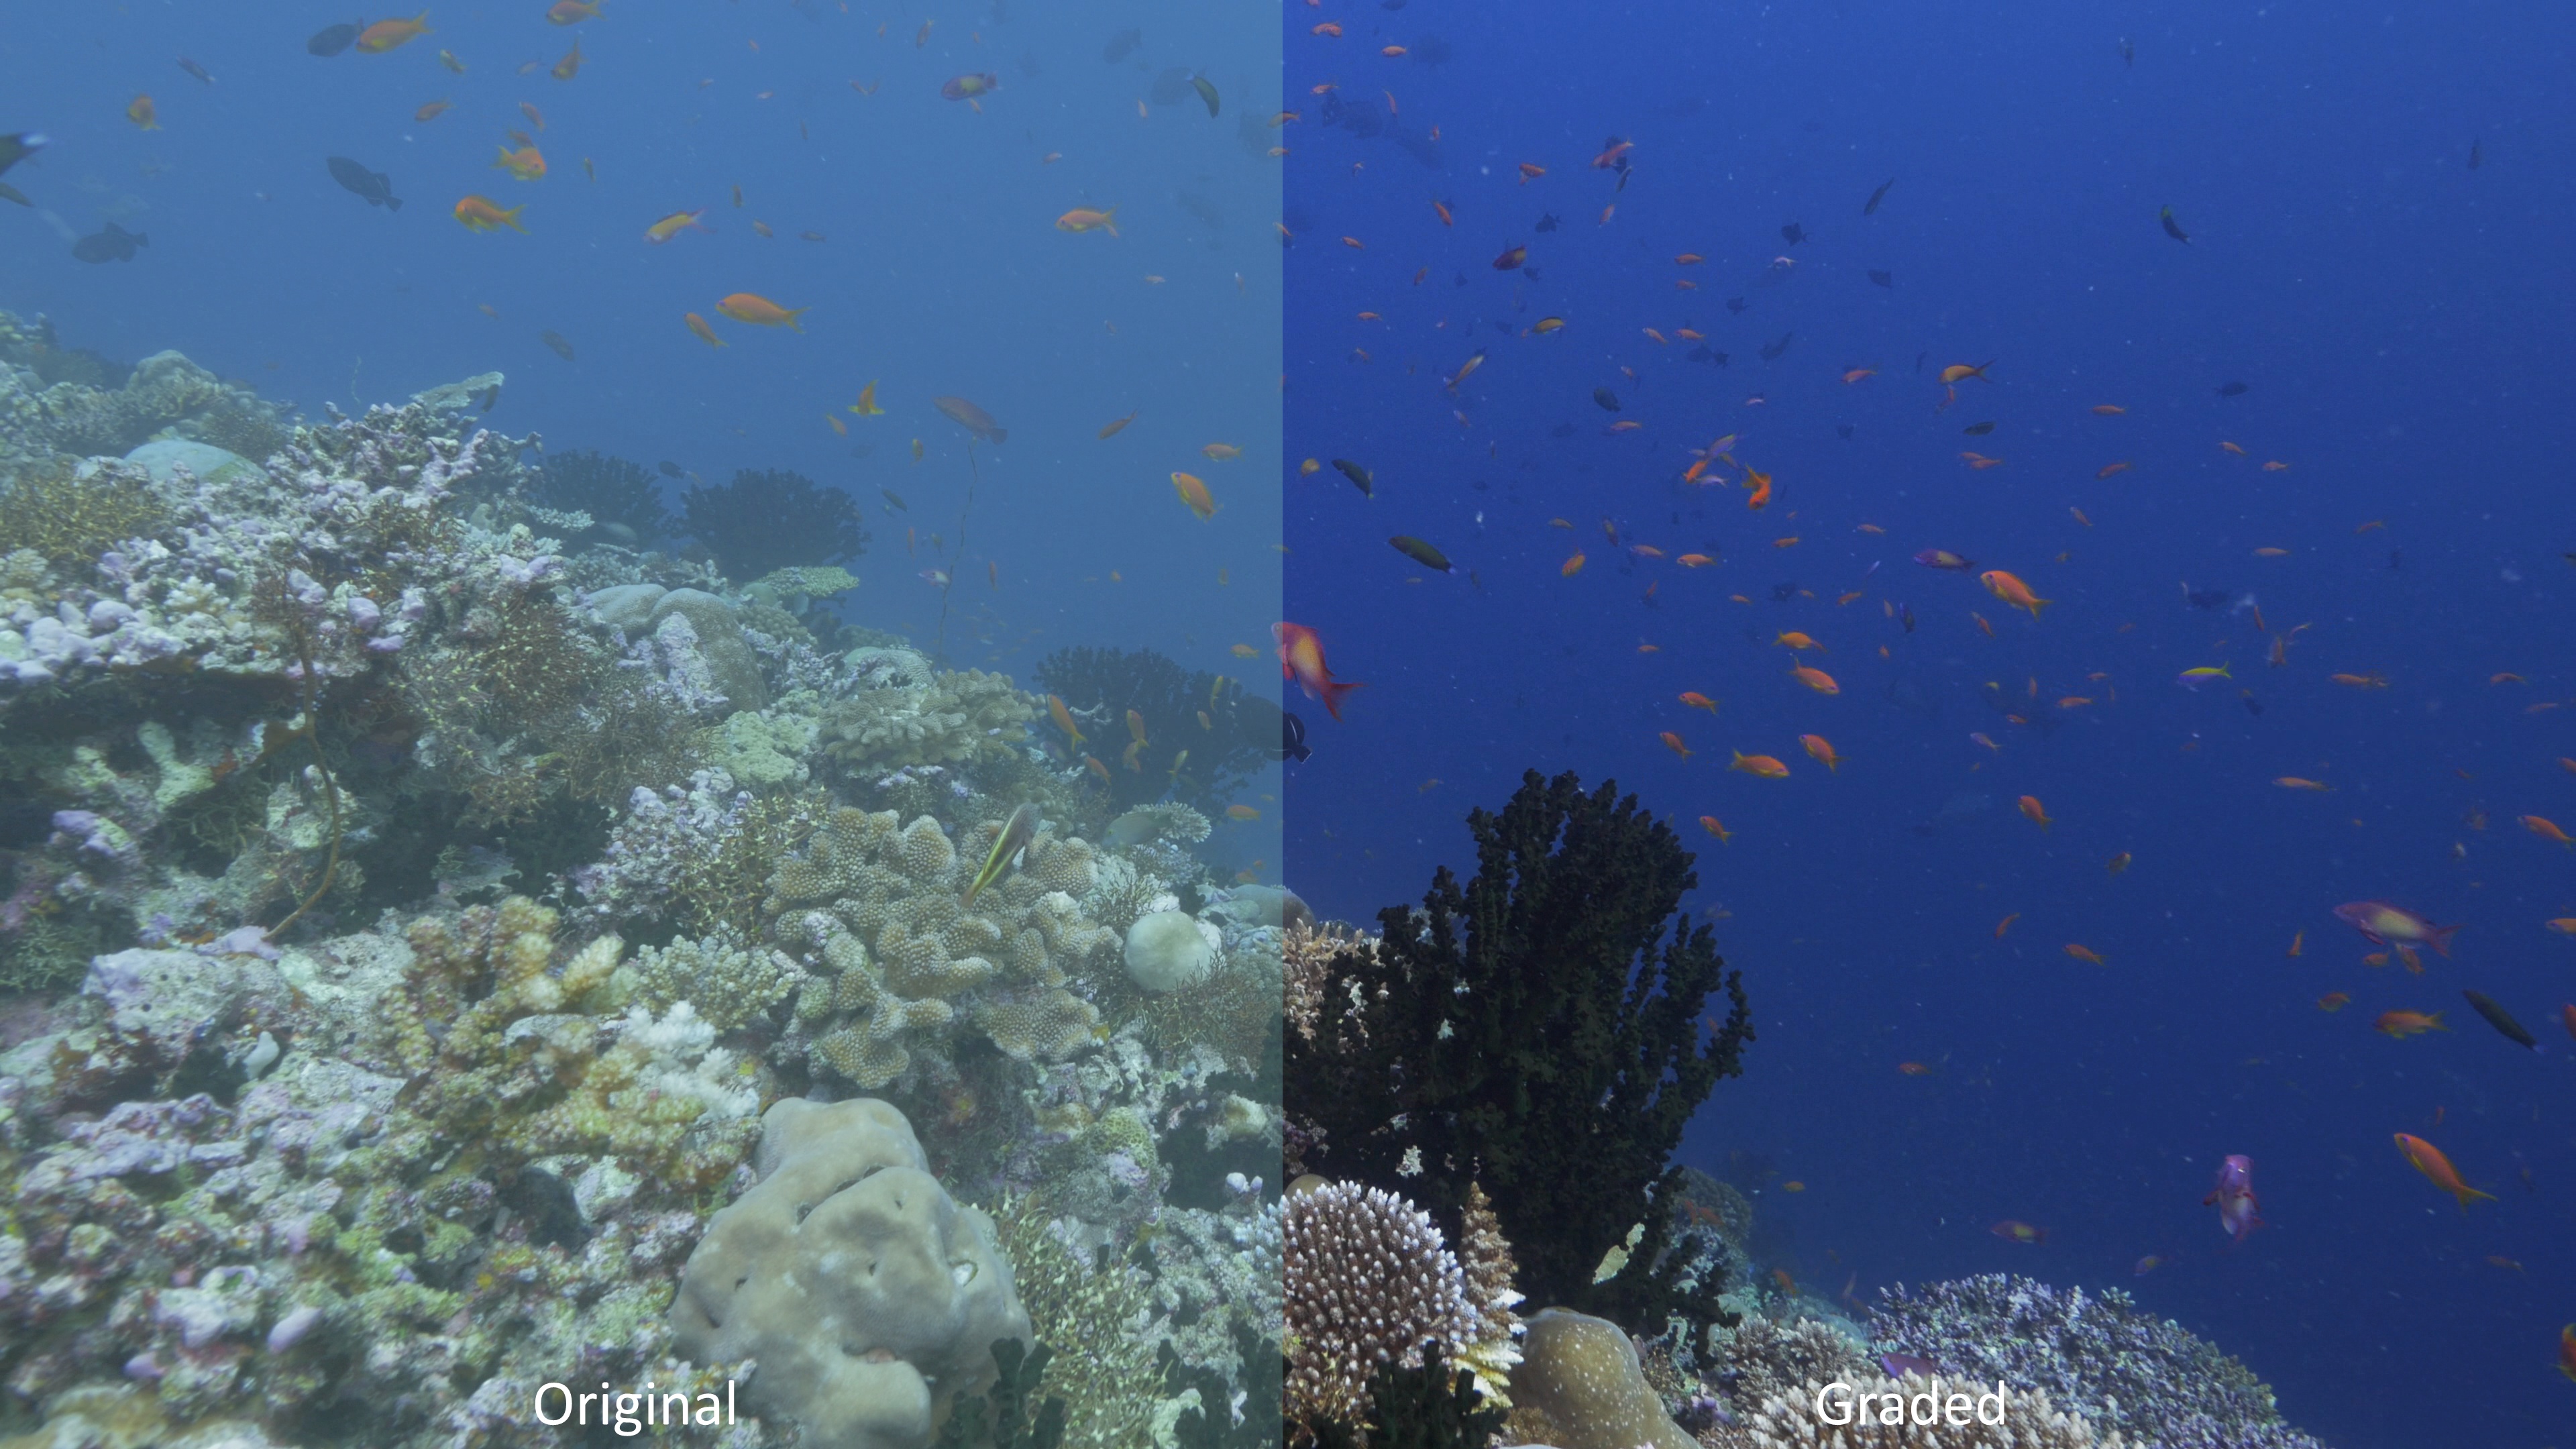
Underwater test footage shot on Panasonic GH4 4k UHD.
Original and after grade footage (4K UHD down-sampled to 1080p).
Cine-D (contrast -5, sharpness -5) and other setting were default.
Crushed black, lifted red & blue channel each clip differently in post.
Panasonic GH4, 7-14mm in Nauticam 180mm dome & housing.